6 Helpful Real Estate Photography Tips

Real estate photography is notoriously awful. Garbage piles in the living room, a room full of dolls, and inexplicable photoshopping are just a few of the remarkable entries on the Terrible Real Estate Agent Photos blog. Although most of us exercise enough common sense to not commit these crimes against real estate, there are other, more subtle ways you can unintentionally devalue your home.
And yes, when your pictures are poor, it does devalue your home. According to a Redfin study, homes with nicer photos gain anywhere from $934 to $116,076 at the closing table. The National Association of Realtors discovered that home seekers ranked the photos as the feature they use the most. Here are some ways to make the most out of your home listing.

1. Put the Smartphone Away
Smartphone cameras have progressed by leaps and bounds over the years and snapping some photos from a device in your pocket is convenient. Smartphone cameras have much smaller lenses than a professional camera and image quality suffers for it, especially in poor light situations. Although the iPhone 6's eight megapixels pack quite a punch, the sensor is smaller, resulting in a photo that is less clear than if it were on a professional camera. No reason to go top of the line, but investing in a decent camera can go a long way towards selling your home for a higher price.
2. Use a Tripod if You Have One
Tripods can be cumbersome to lug around, but the benefits of using one is worth the extra weight. It is especially useful if you have to shoot on an overcast day. In low light situations the shutter speed slows down, resulting in blurrier photographs if your hands are unsteady. It also gives a crisper, cleaner look.
3. Stage the Room
Every room should have at least one item or piece of furniture that is featured prominently. Declutter your rooms so they appear more open. Move sofas and chairs away from the walls. Make rooms look bigger by painting the adjacent room the same color. The potential buyer needs to be able to envision their life in your home, so take down anything that's personal including photos, anything detailing religious beliefs, and pet accessories.
4. Take Lots of Photos
Now that photographing on celluloid is virtually extinct, there's no reason to skimp on the photos. It does add time to the editing process but will be worth it in the long run. Make a day out of just photographing your home while its staged and looking its best. Imagine the frustration of having to restage the bathroom because you didn't get the perfect shot. It's also important to get pictures of hallways and entrances and not just rooms. As potential buyers flip through your photos, it should be like a walking tour of your home so the viewer can imagine themselves in the house. When it comes time to arrange the photos, the exterior of the home shouldn't be followed by the backyard and then the kitchen.

5. Take Exterior Photos on a Sunny Day and the Interiors on Overcast Days
Typically between noon and two in the afternoon is best time to take photos and it's when the sun is at its height. Even though photo editing tools can brighten a photo, the more natural light you have, the more details are revealed and the more appealing your home looks. It's also best to avoid taking the photo on days where there is snow on the ground. Conversely, take the interior photos on an overcast day and turn on all the lights. For interior photos, it's easier to edit a slightly darker photo than one awash in glare.
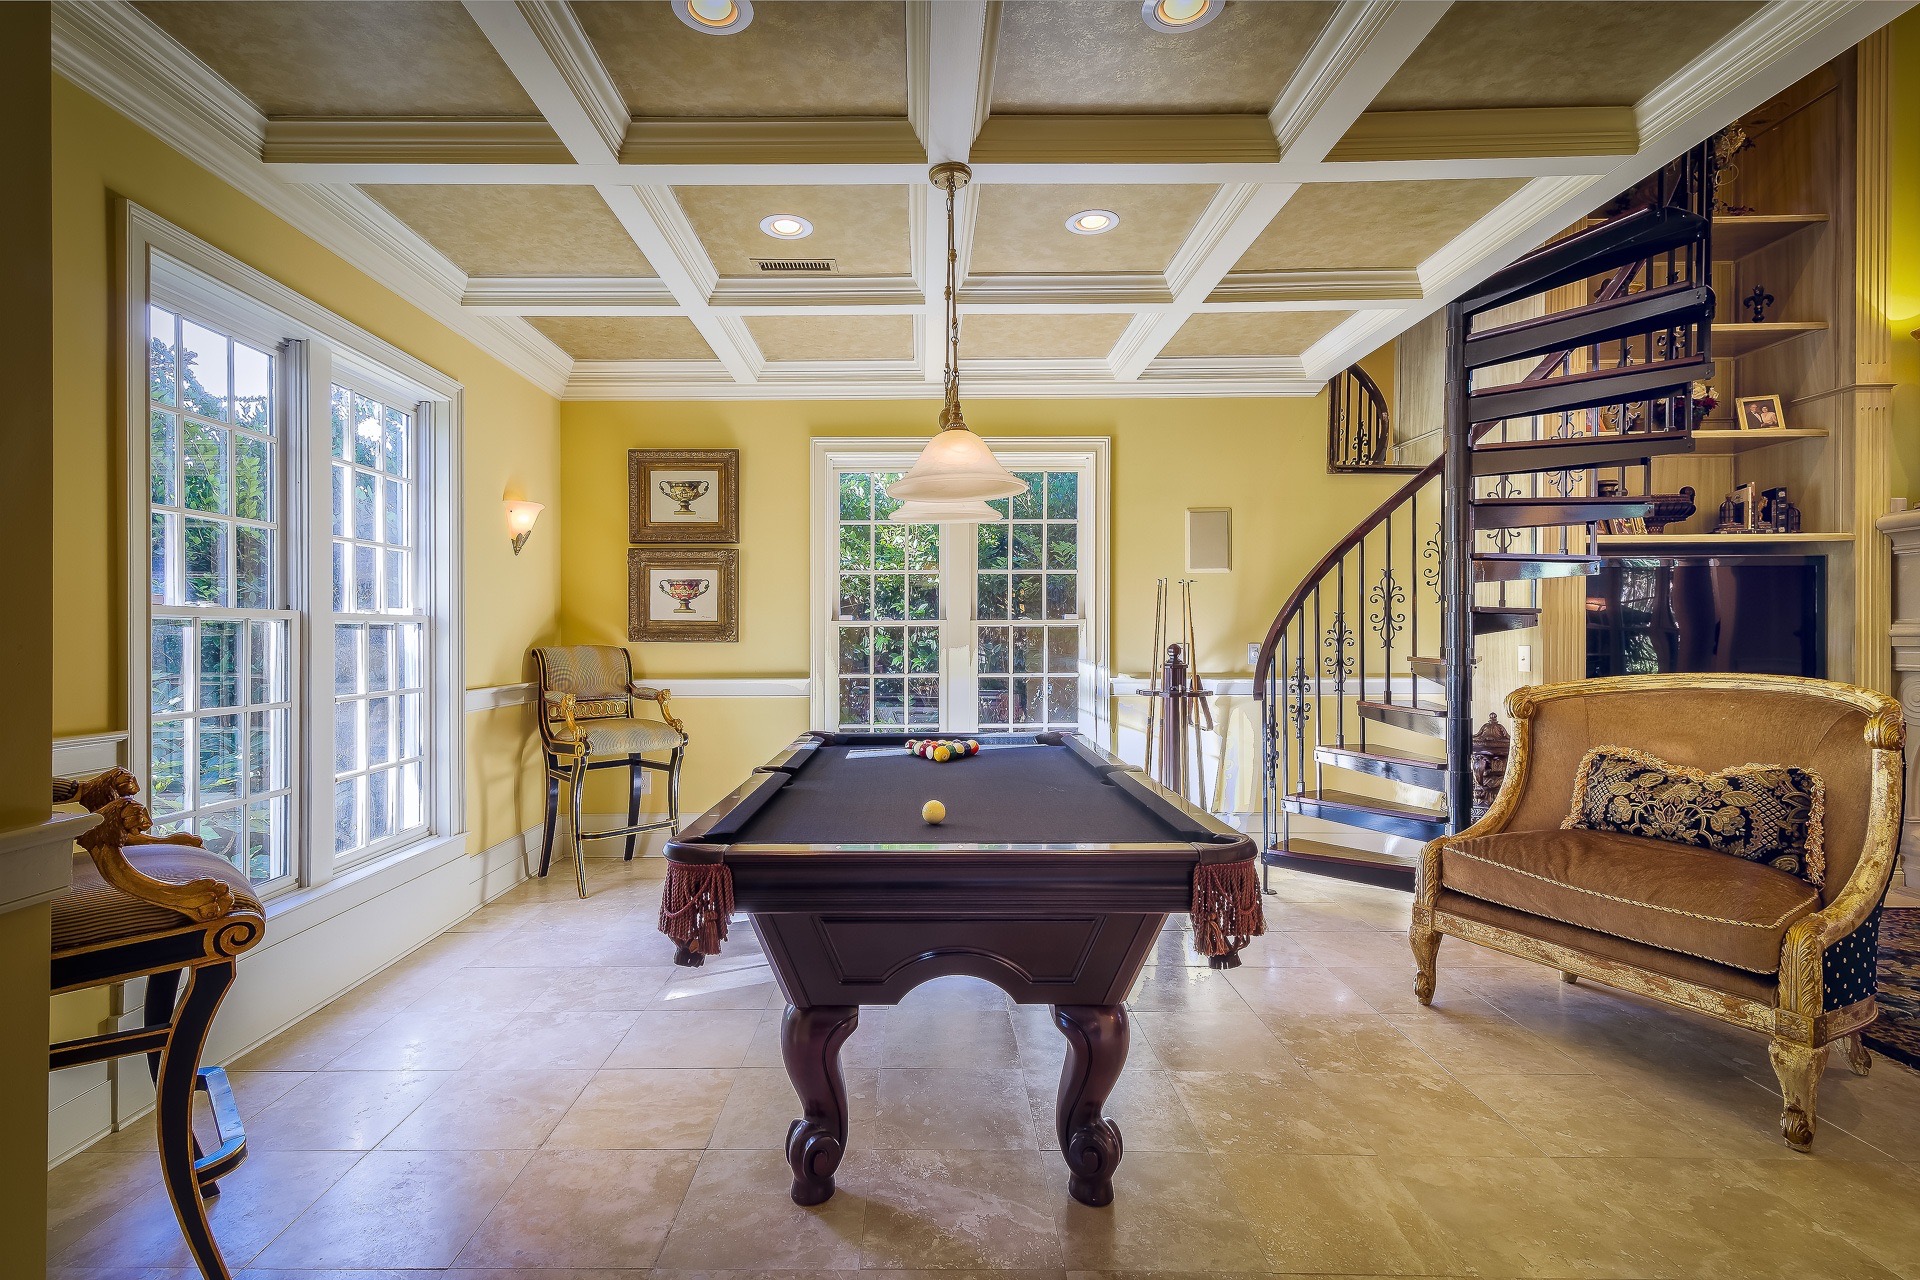
6. Shoot for the Corner
Your dramatic and light-drenched bedroom can look dull if you shoot directly at the wall. Aiming for the corner at a low angle will provide more perspective and will give the room the proper amount of depth. It is recommended that the corner of the room be a third of the way from the right or left hand side of the image. Otherwise, the eye doesn't really have a line to follow or a location to place its attention.